

The Plumbing Detox: 9 Essential Steps to Clear Out Harmful Build-Up in Your Home’s Water System
Maintaining a healthy and functional plumbing system is crucial for any home. Over time, various factors can contribute to harmful build-up in your water system, including mineral deposits, mold, and bacteria. These issues can not only lead to poor water quality but also cause significant plumbing problems that can be costly to fix. In this article, we will discuss _nine essential steps_ to detox your plumbing system and ensure clean, safe water flows through your home.
Understanding Why Detoxing Your Plumbing is Important
Your plumbing system can become a breeding ground for harmful substances if not properly maintained. _Detoxing your plumbing_ involves a systematic process of cleaning and removing build-up that usually goes unnoticed. Here are some reasons why this is vital:
- Water Quality: Poor plumbing can lead to contaminated water, affecting your health.
- Pipe Longevity: Regular detoxing helps extend the life of your pipes and fixtures.
- Reduced Costs: Preventative maintenance is often cheaper than dealing with repairs or replacements.
- Better Flow: A clean plumbing system allows for optimal water flow, reducing pressure issues.
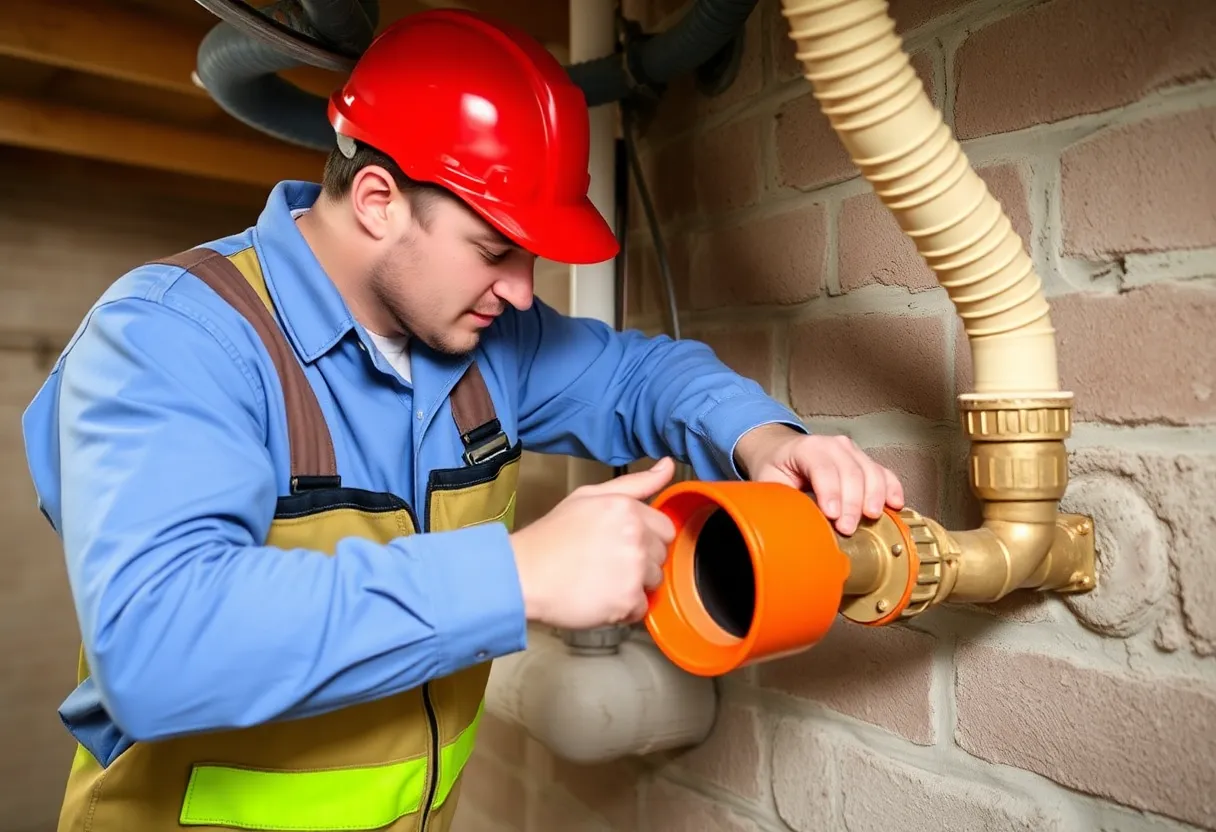
Step 1: Conduct a Plumbing Inspection
The first step in any plumbing detox is to conduct a thorough inspection of your water system. Look for signs of build-up, leaks, or corrosion.
How to Inspect Your Plumbing
- Check all visible pipes, especially in areas prone to moisture.
- Look for stains on walls or ceilings that may indicate leaks.
- Inspect faucets and showerheads for mineral deposits.
This inspection will help you identify problem areas that need immediate attention and give you a clearer picture of what you’re working with.
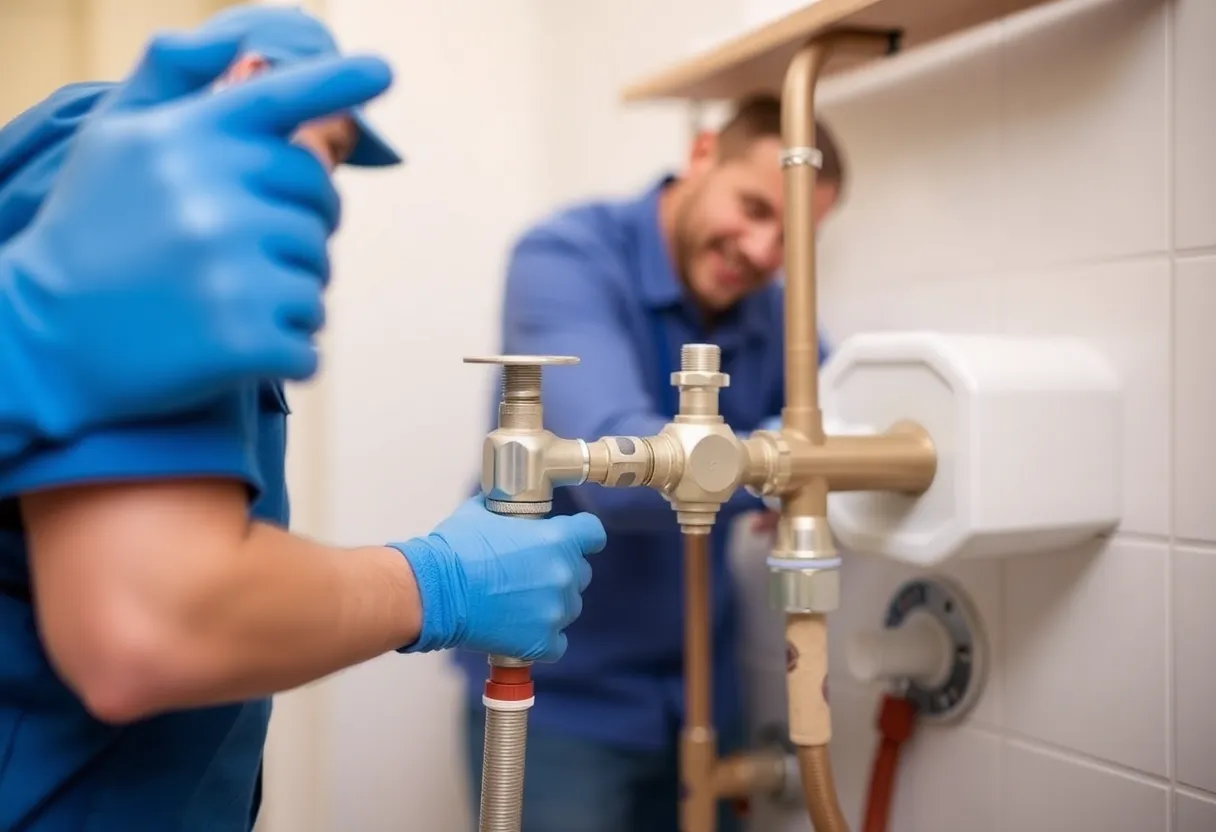
Step 2: Flush Your Water Heater
Water heaters can accumulate sediment and minerals over time, which can impact their efficiency and your water quality. Flushing your water heater annually is an essential detox step.
How to Flush the Water Heater:
- Turn off the power supply or gas to your water heater.
- Connect a garden hose to the drain valve at the bottom of the heater.
- Drain the tank into a bucket or outside until all the sediment has been released.
- Refill the tank and turn the power or gas back on.
This process helps remove debris that can affect the heater’s performance and ensures the delivery of clean hot water.
Step 3: Clean Your Faucet Aerators and Showerheads
Aerators and showerheads are common places for mineral build-up. They can restrict water flow and affect water pressure, so regular cleaning is necessary.
How to Clean Aerators and Showerheads:
- Remove the aerator or showerhead from its fixture.
- Soak it in vinegar for a few hours to dissolve mineral deposits.
- Use an old toothbrush to scrub away any remaining debris.
- Rinse thoroughly and reattach.
Not only will this improve water flow, but it will also enhance the overall appearance of your fixtures.
Step 4: Use a Plumbing Snake for Clogs
Clogs can lead to significant build-up if not addressed promptly. A plumbing snake can help remove blockages effectively.
How to Use a Plumbing Snake:
- Insert the snake into the drain until you feel resistance.
- Turn the handle clockwise to break through the clog.
- Pull the snake back out and dispose of any debris that comes out with it.
Using a plumbing snake can prevent more serious issues down the line, ensuring your system remains clear.
Step 5: Perform a Deep Clean of All Drains
In addition to using a plumbing snake, it’s beneficial to deep clean your drains regularly to prevent build-up.
How to Deep Clean Drains:
- Pour a mixture of baking soda and vinegar down the drain and let it sit for 30 minutes.
- Follow with boiling water to flush out any remaining debris.
This process not only cleans the drain but also helps neutralize odors, keeping your home smelling fresh.
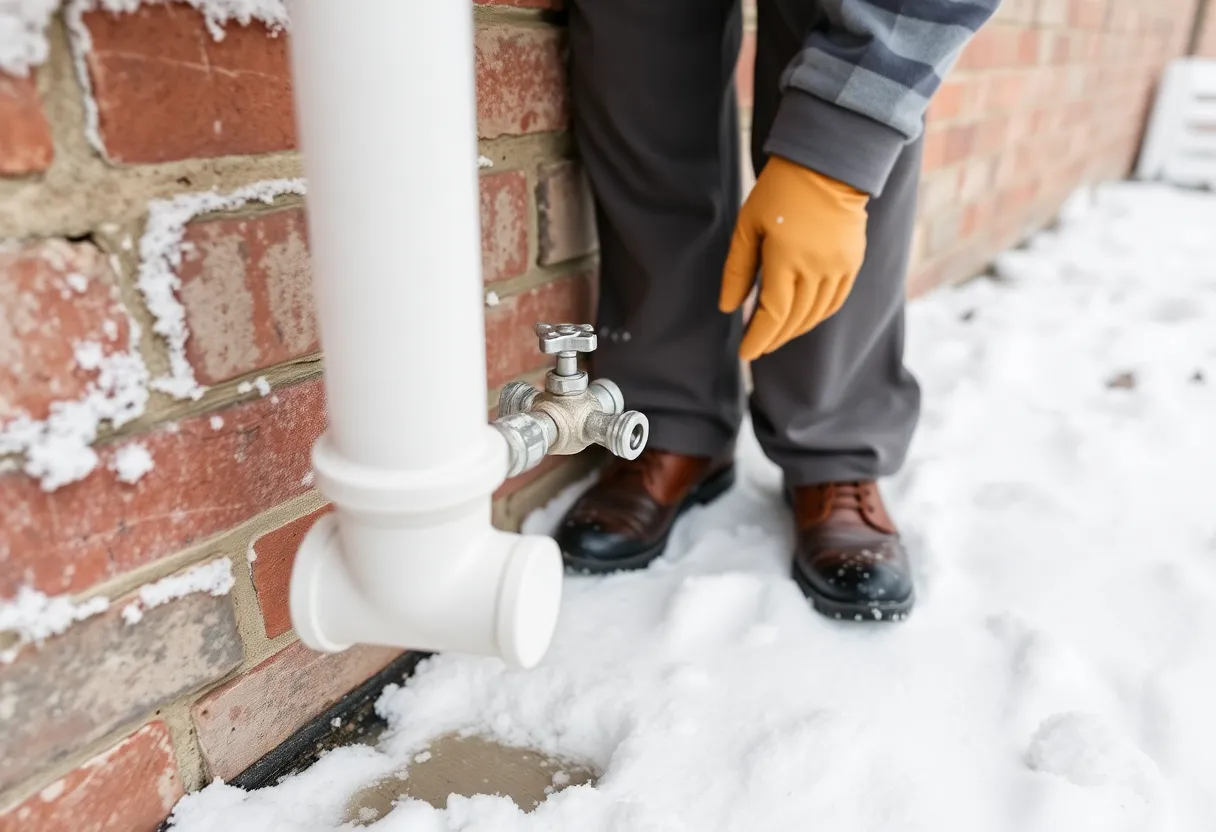
Step 6: Inspect Your Sump Pump
If your home has a sump pump, regular maintenance is essential to avoid build-up and ensure it functions when you need it most.
How to Inspect Sump Pump:
- Remove the sump pump from its pit and clear any debris.
- Check the float switch to ensure it moves freely.
- Add water to the pit to test if the pump activates and drains properly.
A well-functioning sump pump can save your home from water damage during heavy rains or flooding.
Step 7: Test Your Water Quality
After you’ve conducted cleaning and maintenance, it’s a good idea to test your water quality. This can provide insights into whether the detox was effective.
How to Test Water Quality:
- Purchase a water testing kit from a local home improvement store.
- Follow the instructions to collect and test water samples from various taps in your home.
Testing will help identify any remaining contaminants that need addressing, ensuring your water is safe to use.
Step 8: Install a Filtration System
If your water tests show signs of contamination, installing a filtration system is an excellent long-term solution for improving water quality.
Benefits of Water Filtration:
- Removes harmful contaminants including chlorine, lead, and bacteria.
- Improves taste and odor of water.
- Can save money on bottled water and improve overall health.
Choose a system suited to the specific contaminants and concerns revealed in your water test results.
Step 9: Schedule Regular Plumbing Maintenance
The final step in your plumbing detox is to establish a routine for regular maintenance. Setting up a schedule will help you stay on top of potential issues.
How to Establish a Maintenance Schedule:
- Clean faucet aerators and showerheads every 6 to 12 months.
- Flush your water heater annually.
- Inspect piping and drains at least once a year.
Regular maintenance can prevent most issues from escalating into bigger problems, preserving your plumbing system’s integrity.
Conclusion
By following these _nine essential steps_, you can detox your plumbing system and enjoy clean, safe water throughout your home. A proactive approach to plumbing maintenance not only enhances water quality but also contributes to a healthier living environment. Don’t wait until problems arise—start your plumbing detox today to ensure peace of mind for you and your family.